

Out of all the tips, I will give you, the most important is to have your cat over-see all your work!!

This chair is actually the 3rd piece of furniture that I have reupholstered, so I went into this project with less stress about reaching the point of NO return. Ya know a point of NO return is where all the old fabric is off and you have NO idea how to put all the NEW fabric back on.
I started with the seat cushion, first because the husband wanted to measure out the chair and draw a set of schematics from it (I dunno why). It took me a day and a half to sew out this little lady, and trust me, I had my problems!!
Step-by-Step
Step 1: measure and cut out the seat cushion and allow for inseam
Step 2: measure and make 2 sets of pipping
Step 3: measure and cut out the facing of the cushion
Step 4: sew both sets of the pipping onto the face of the cushion
Bonus Step 5: Draw on the inside of the fabric where your needle needs to sew the pipping (this helps you keep the cushion square and even.)
Step 6: sew on the top cushion
Seams (ha, pardon the pun) easy enough-eh?
First to make the pipping, take the pipping rope tuck it into the fabric (make sure you're using the proper foot and proper sewing needle) And sew!


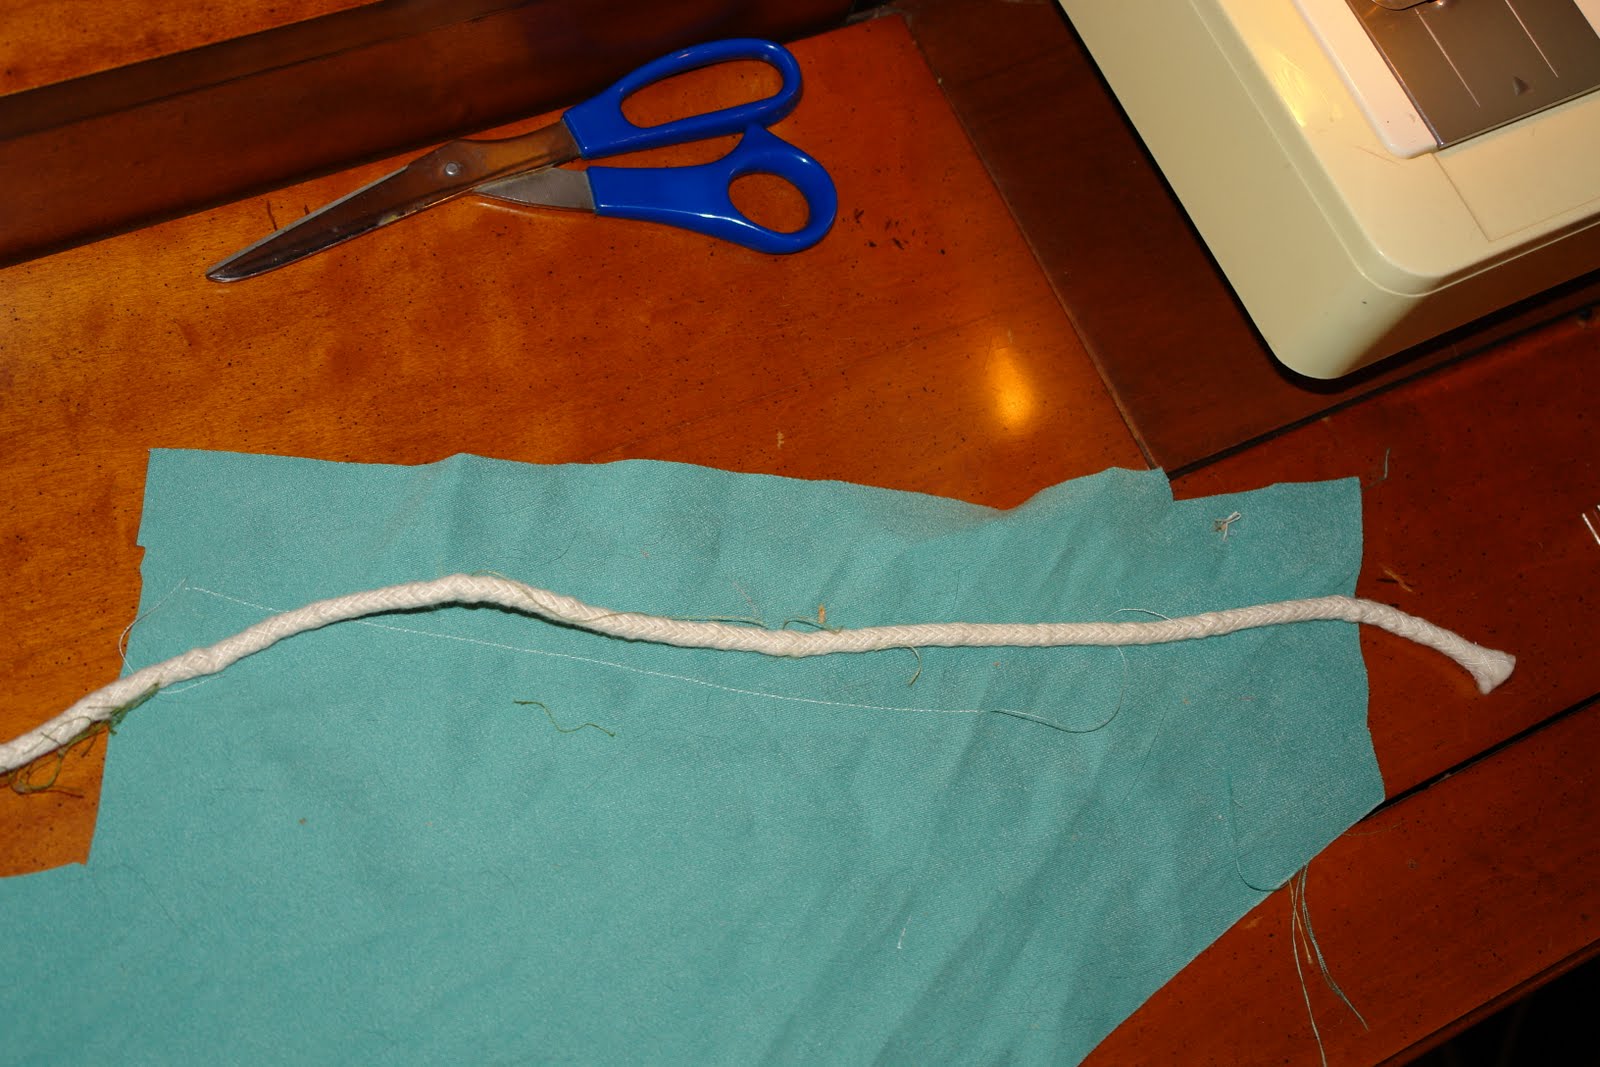

The measuring and cutting out of the cushion was simple enough. But measuring out and attaching enough fabric to make the pipping was difficult. I had to use a procedure I have never used before; you cut the fabric on a diagonal to increase the strength of the seam and make it less noticeable.


 | |||||||


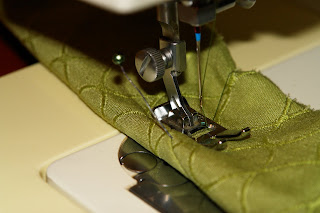
After you sew your pipping sewn, then you have to attach it to the face of the cushion. This part throws me off every time, after years of always sewing to the back of fabric, it casts a lot of doubt in my mind when I have to sew on the front. But trust me, you sew the pipping to both ends of the face fabric. Make sure that from the insides of the pipping still measure the same as the face of your cushion? Does that make sense?


Can you see the orange lines on the front of the fabric, that is my guide line so I know where I need to sew the pipping. I had some issues sewing those corners and I can't tell you how many times I had to sew, then rip everything apart, then pin it all back in place, then sew again. Uh, it took forever!


 If you look at the left corner you can see where all the bunching is, it was driving me crazy!! But eventually I got it all squared away, I finally had to sew a little of the left, then sew a little of the right side, the problem was I made a sharp 90degree turn then I sewed 4inches and made another 90 degree turn and sewed 5inches and made another 90degree turn. The tension on the pipping had to be just right in order to make it square.
Stay tuned for the, 'DYI-The Chair.
Also, check out these sites:
The rug one is pretty cool!!
carpettheworld.org
therugboutique.com
orthodoxcandles.com
Thanks for visiting my blog. Your blog looks like a lot fun. Love the chair redo! The Old Flamingo is a new store with a handful of local furniture artists. We just opened yesterday. We had a least 500 people come in. I love Texas. I lived in Fortworth area and 6 months in Amarillo! :)
ReplyDelete